Home Assistant
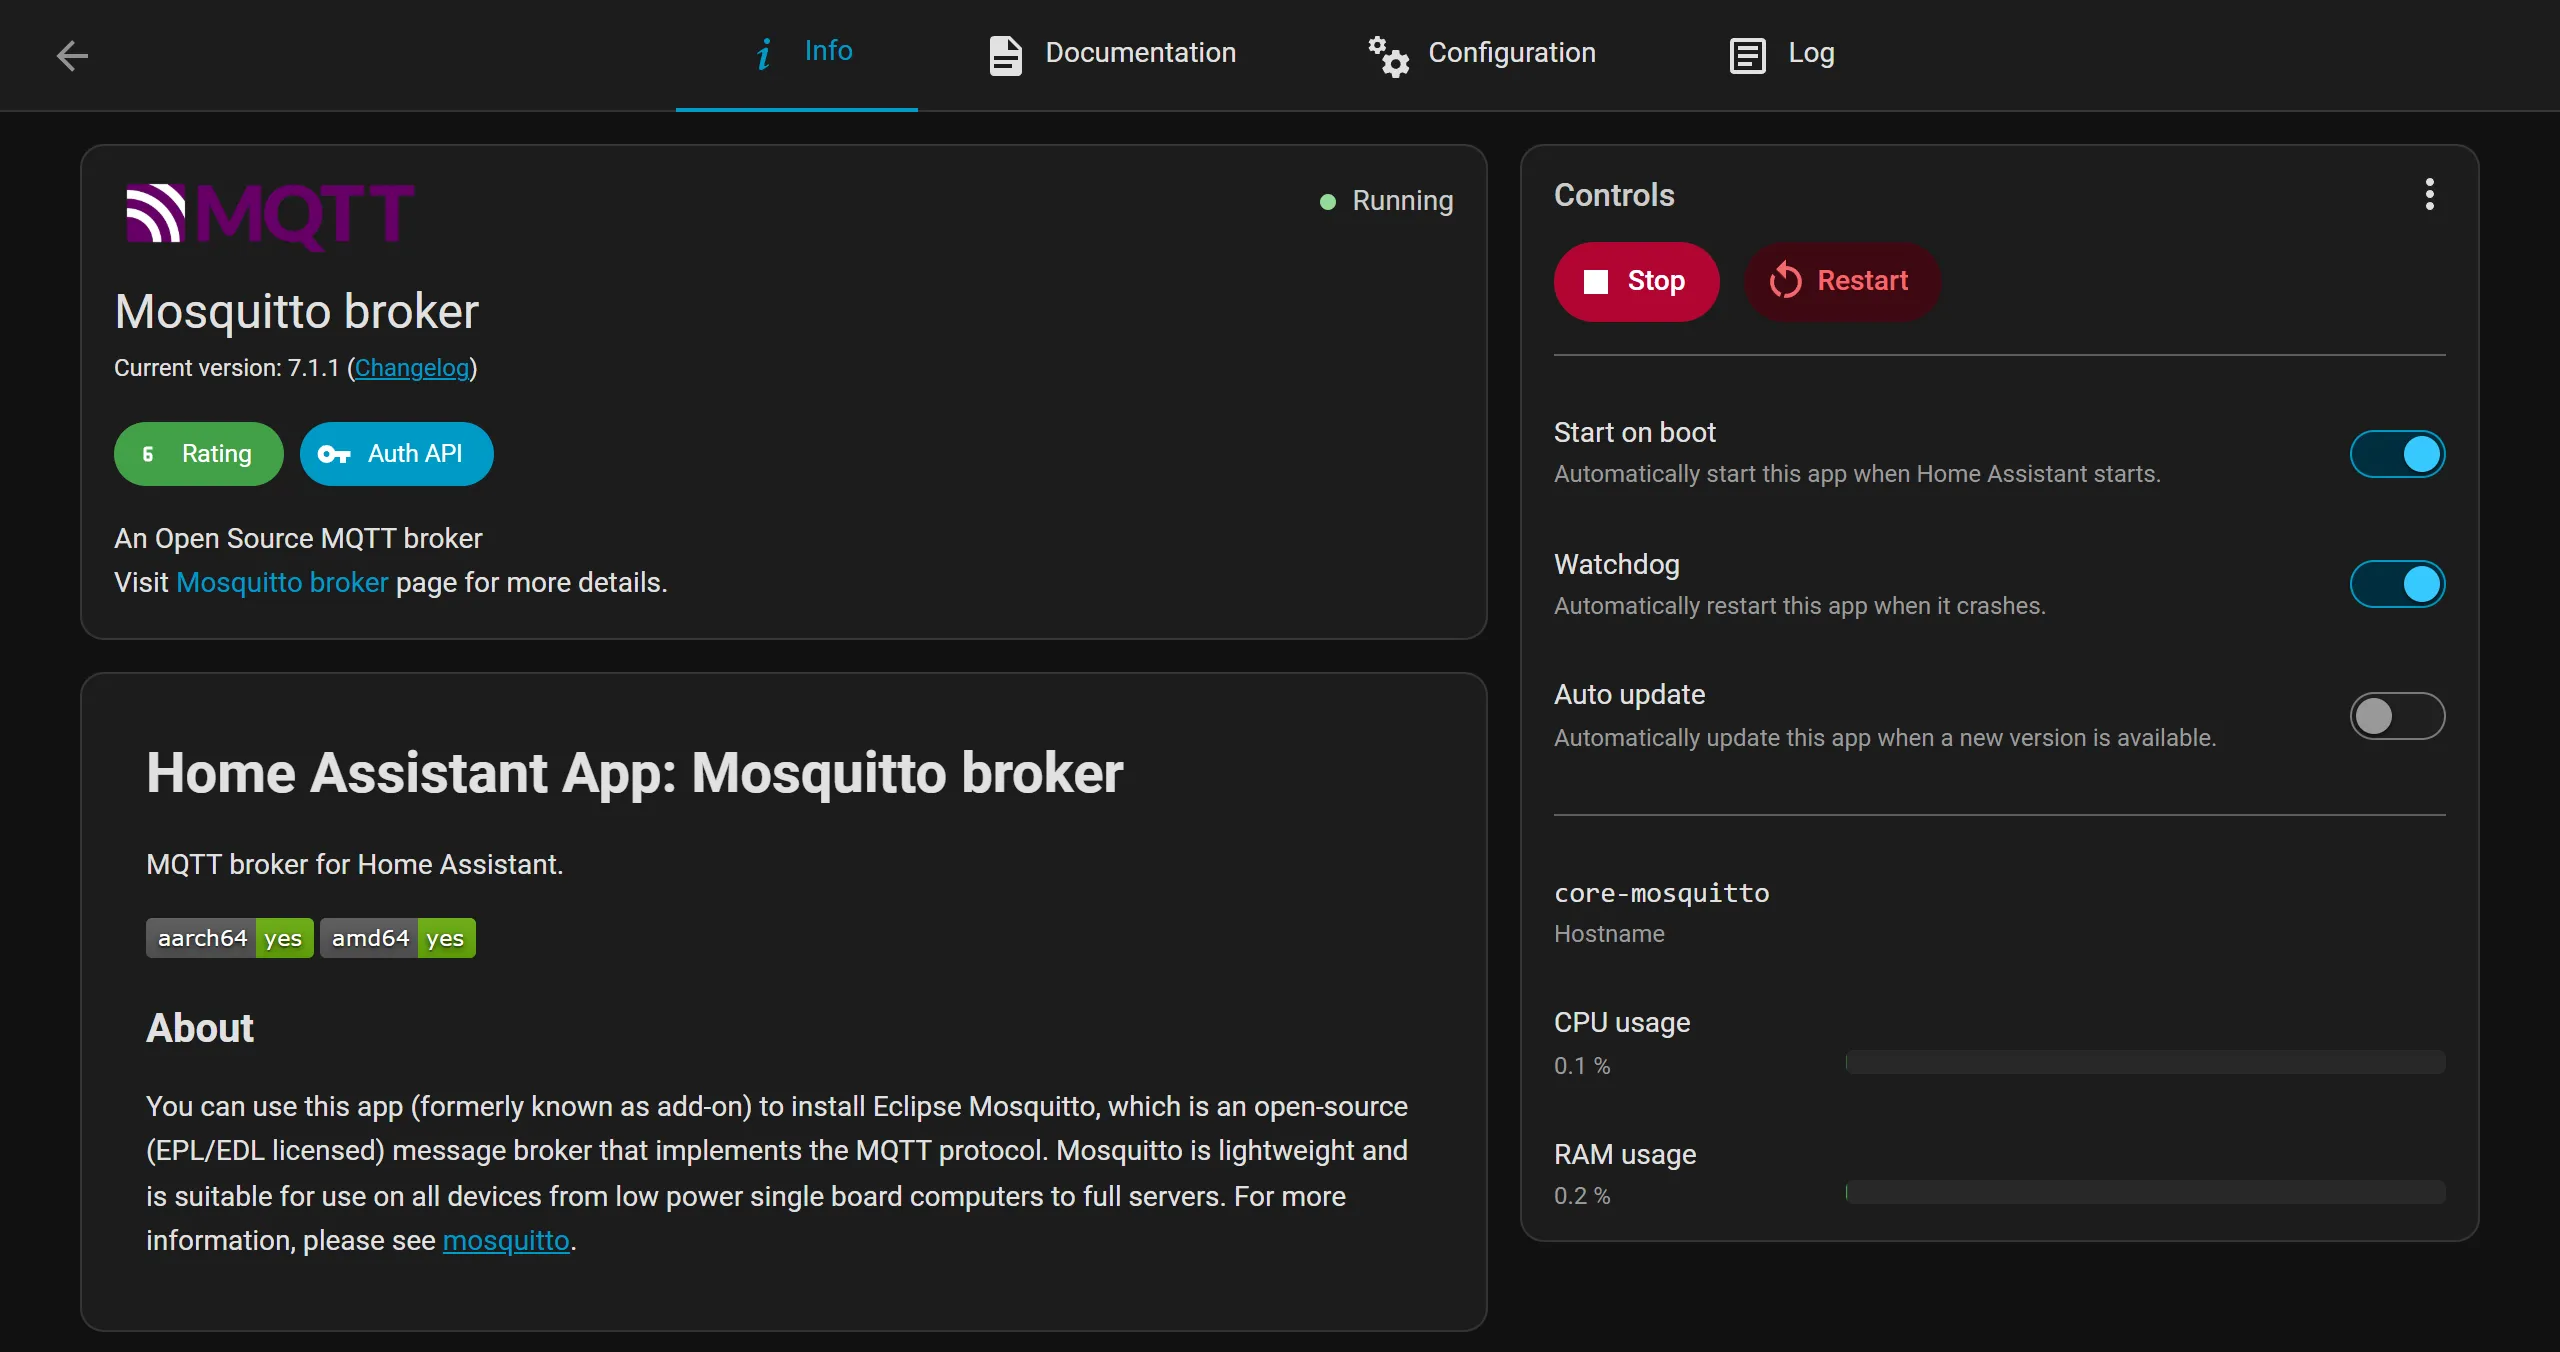
Rackglow talks to Home Assistant over MQTT and announces itself using MQTT discovery. You need an MQTT broker; if you don’t already run one, use the Mosquitto broker app (formerly add-on).
1. Install the broker
Section titled “1. Install the broker”In Home Assistant go to Settings → Apps, install Mosquitto broker and start it. Home Assistant offers to set up the MQTT integration once it’s running — accept it.
2. Create a login for Rackglow
Section titled “2. Create a login for Rackglow”Give Rackglow its own broker login rather than a Home Assistant user. Rackglow stores the password on the device, and a broker-only login can’t be used to sign in to Home Assistant itself.
-
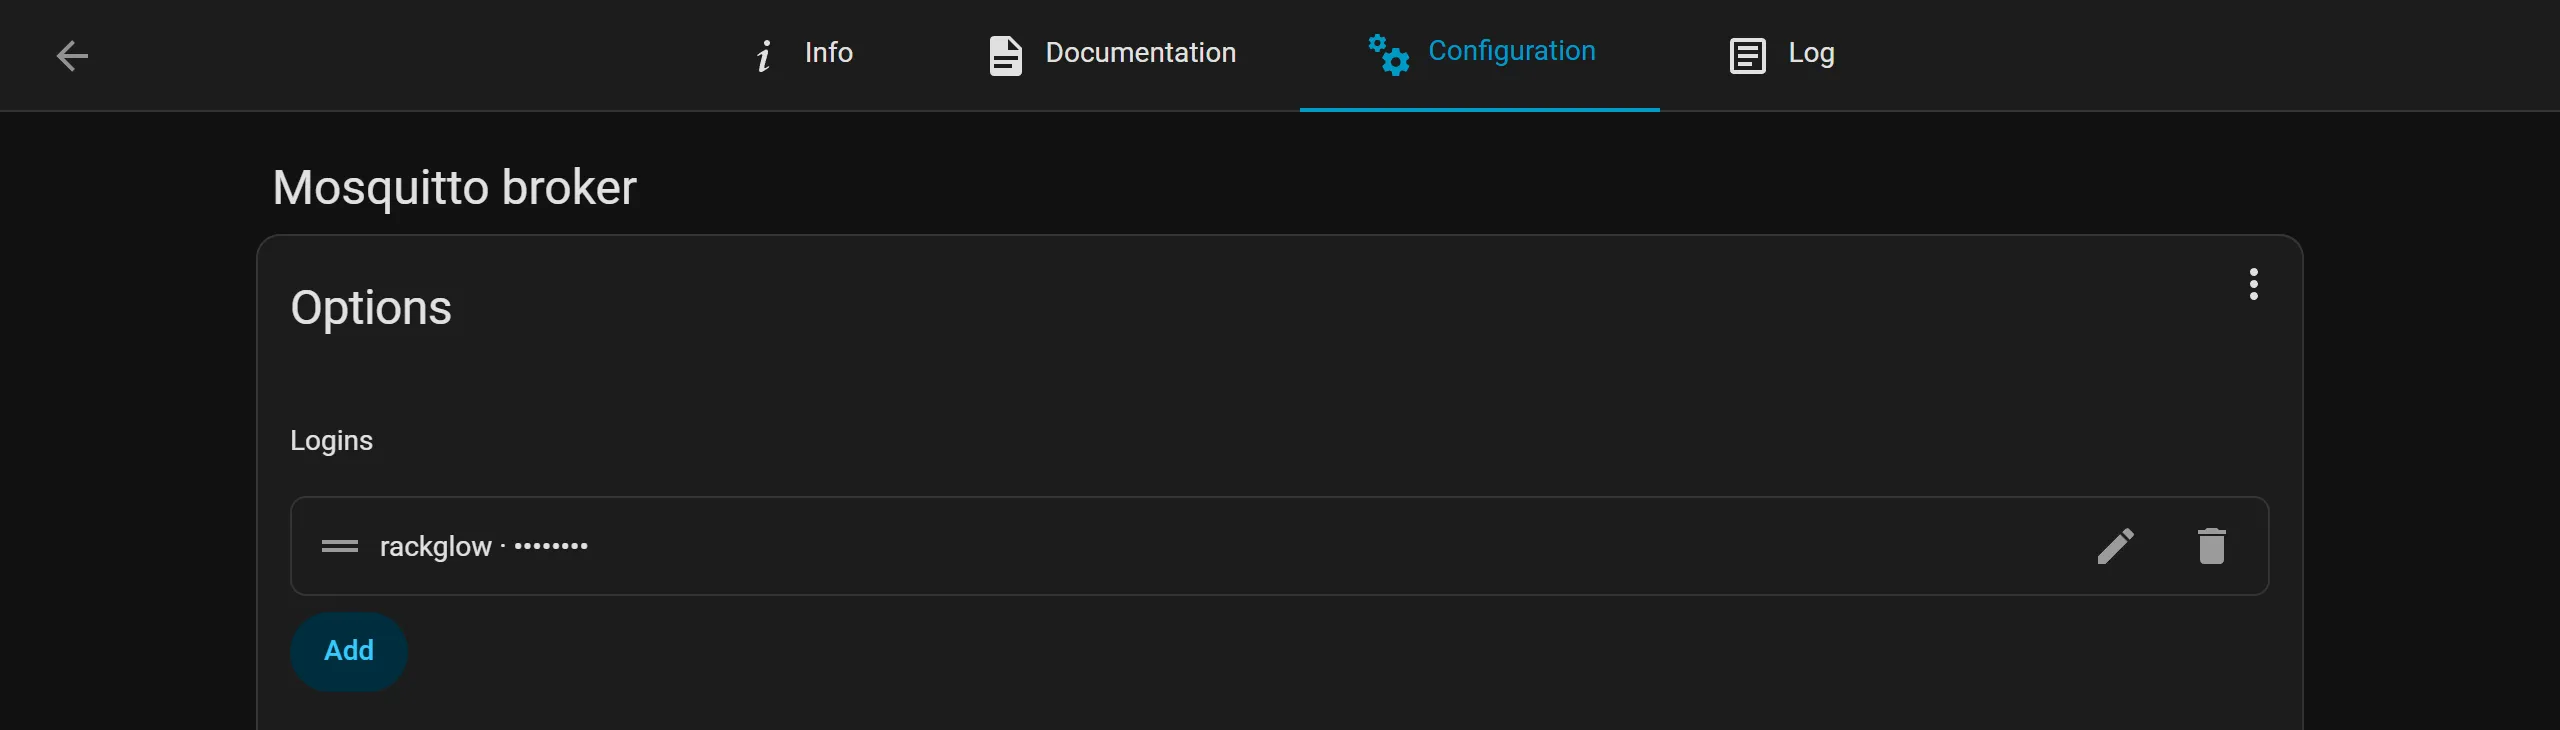
Open the Mosquitto broker’s Configuration tab.
-
Under Logins click Add, enter a username (e.g.
rackglow) and a password, and click Add.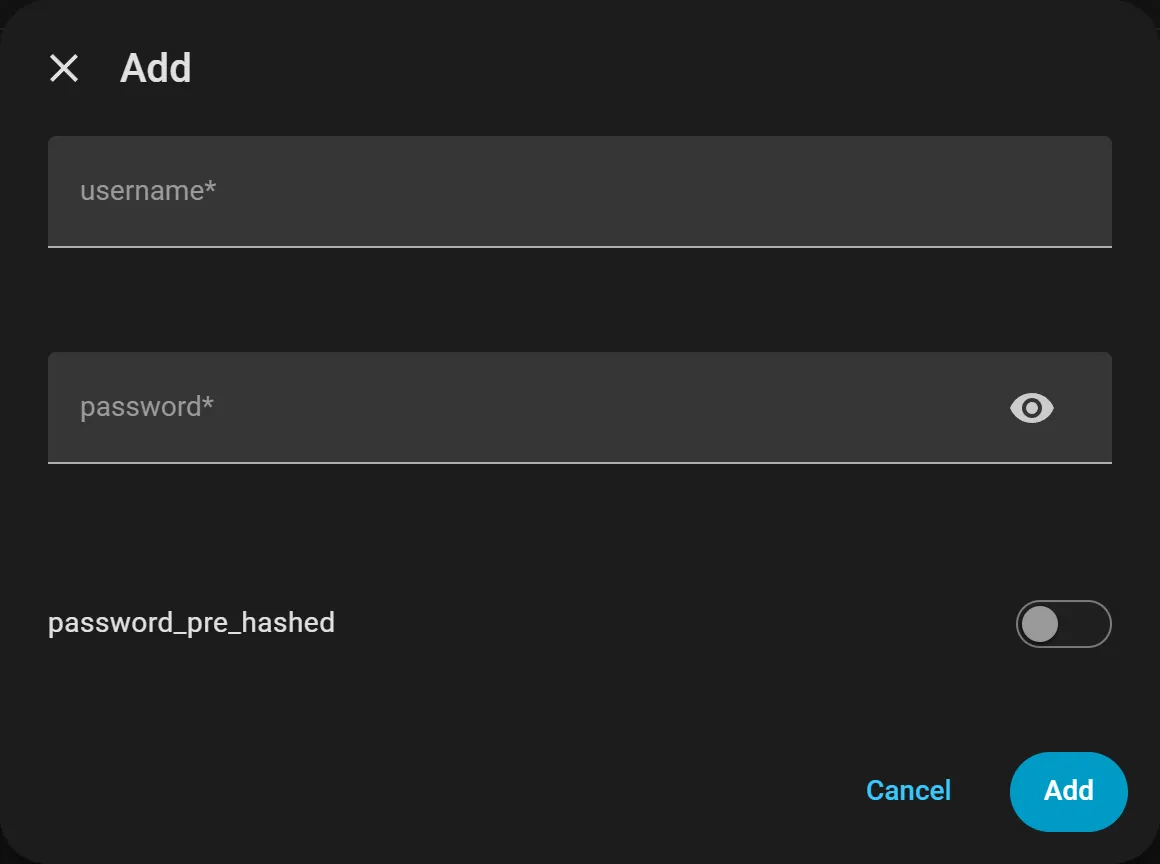
-
Scroll to the bottom of the Options card and click its Save — it’s the button at the end of that card, not the one under Network. Accept the offer to restart the broker.
3. Connect Rackglow
Section titled “3. Connect Rackglow”In Rackglow’s web UI open LED Config → Home Assistant MQTT, set Enabled to On and enter:
| Field | Value |
|---|---|
| Broker Host | Your Home Assistant’s IP address (e.g. 192.168.1.20) |
| Port | 1883 |
| Username / Password | The login from step 2 |
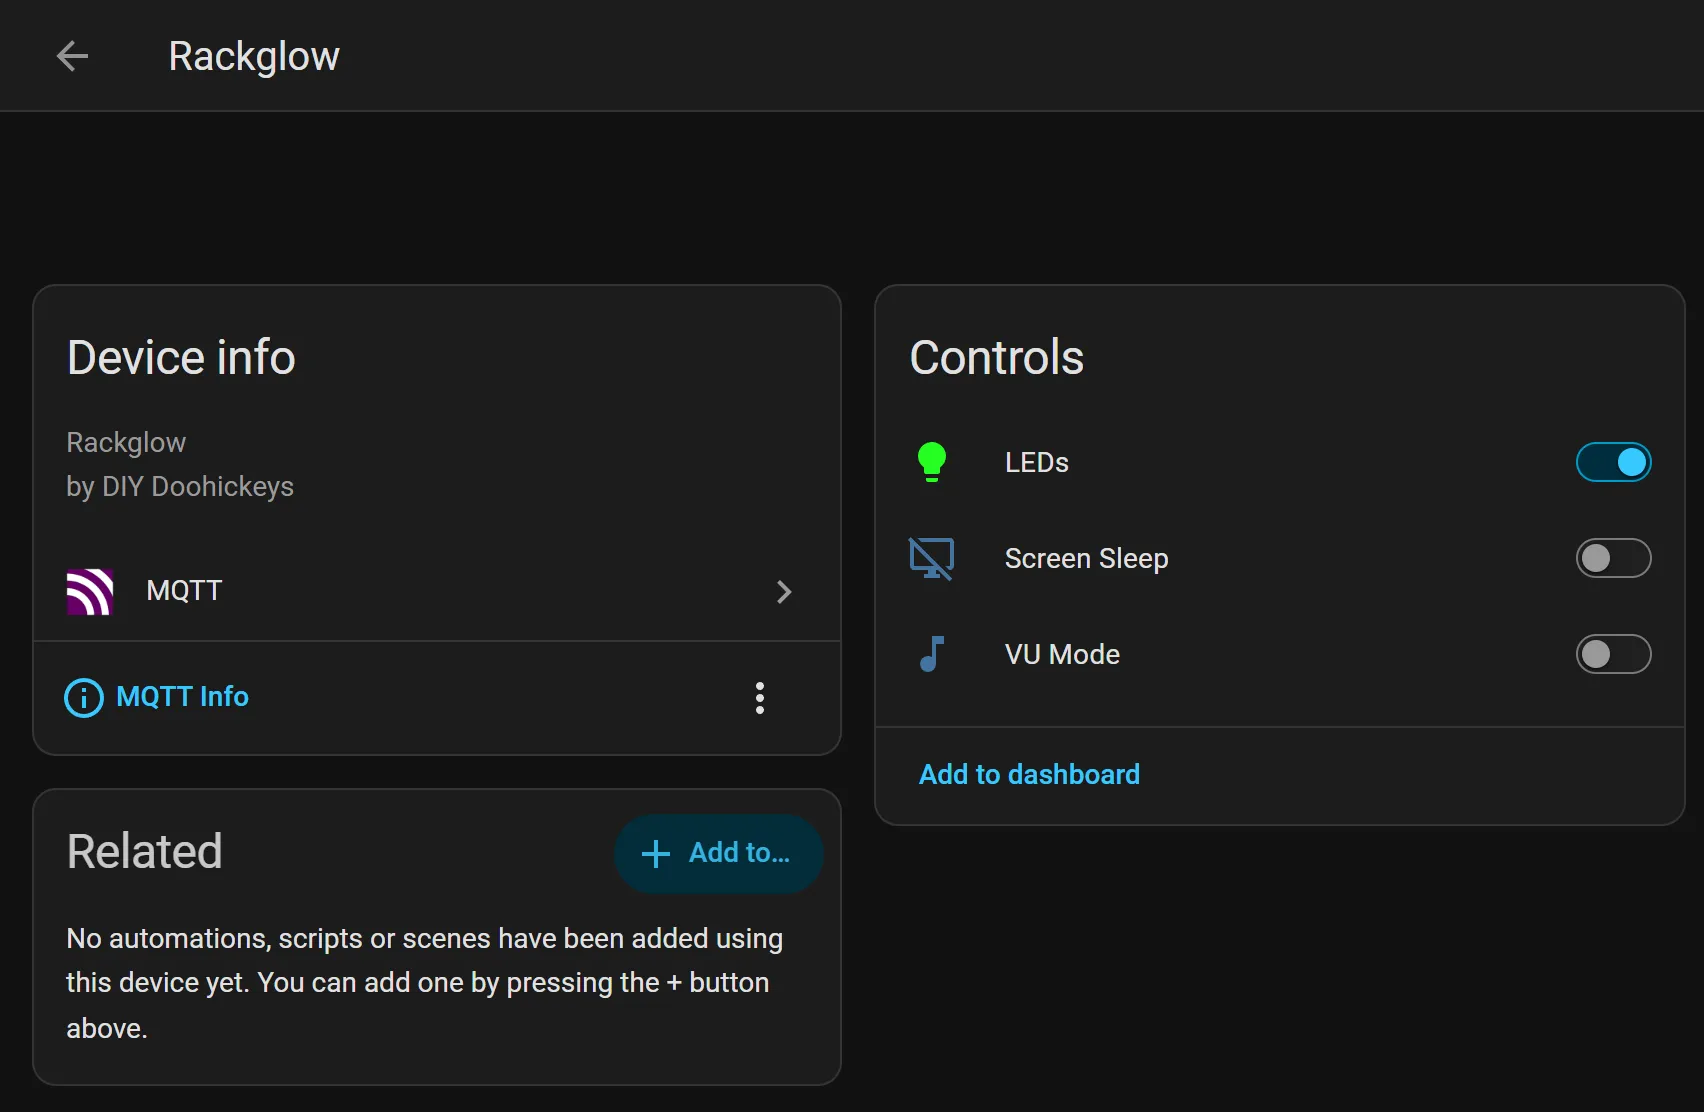
Save. Within a few seconds Rackglow appears under Settings → Devices & services → MQTT:
| Colour | Effects |
|---|---|
 |
 |
| Entity | What it does |
|---|---|
light.rackglow_leds |
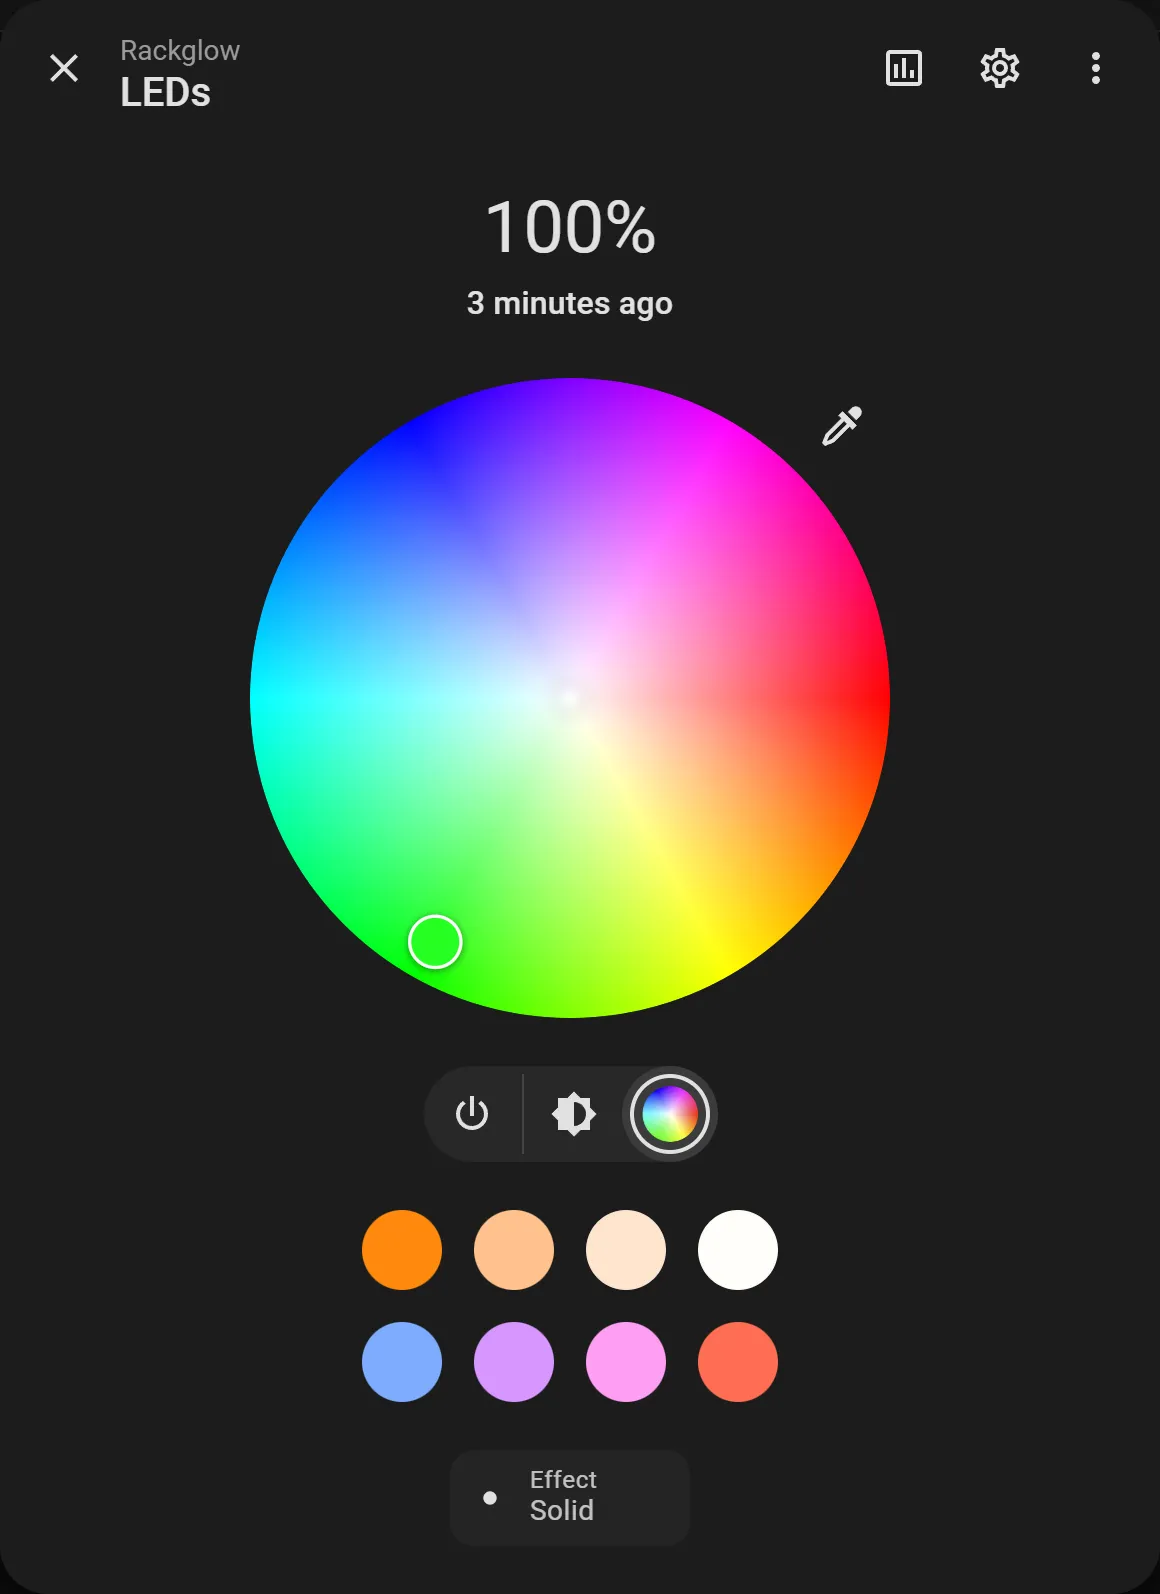
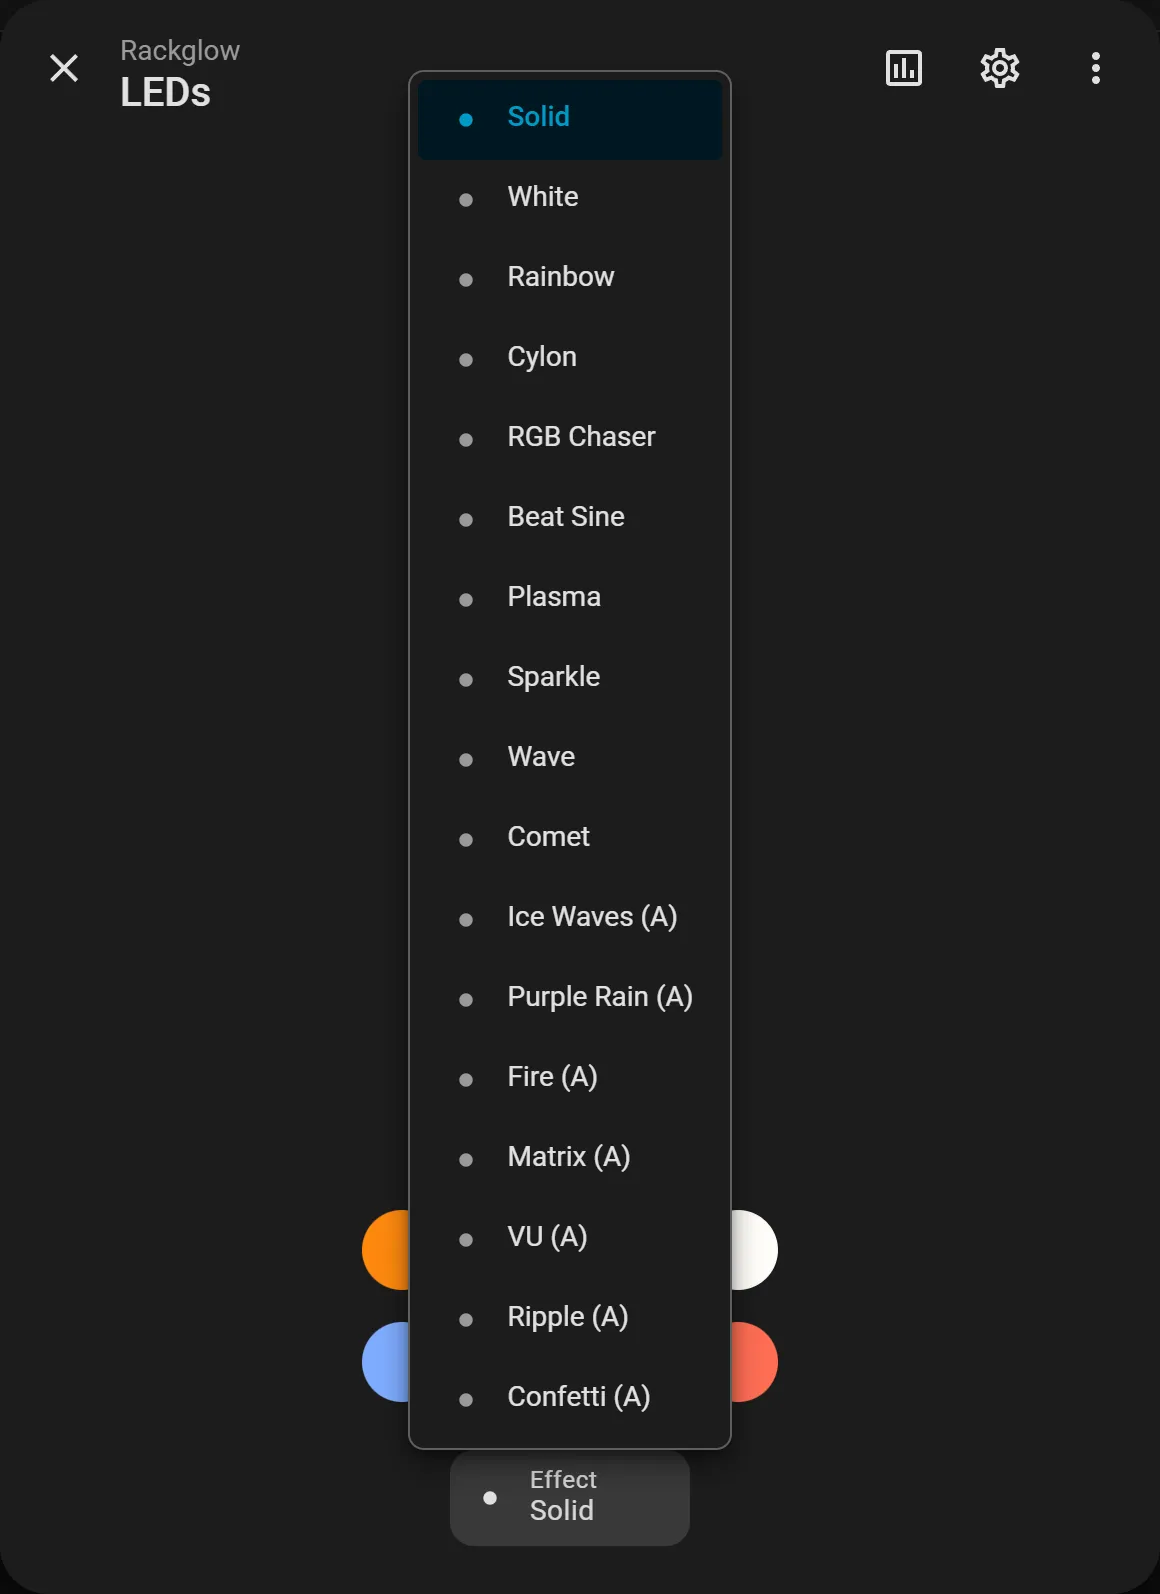
On/off, brightness, colour, and every effect by name |
switch.rackglow_vu_mode |
Brightness follows the audio level |
switch.rackglow_screen_sleep |
Screen fully off. Tapping the screen wakes it and turns this back off |
Not connecting?
Section titled “Not connecting?”http://rackglow.local/logs says why: username or password rejected, cannot reach (wrong host
or port), or a hostname that won’t resolve. Use the IP address rather than homeassistant.local.