First-time setup
- On first boot Rackglow opens a WiFi network called
Rackglow-Setup(passwordrackglow123). - Join it from your phone. The setup page opens by itself; if it doesn’t, browse to
192.168.4.1. - Pick your WiFi network, enter its password and a device name, and save. Rackglow restarts and joins your network.
- Open
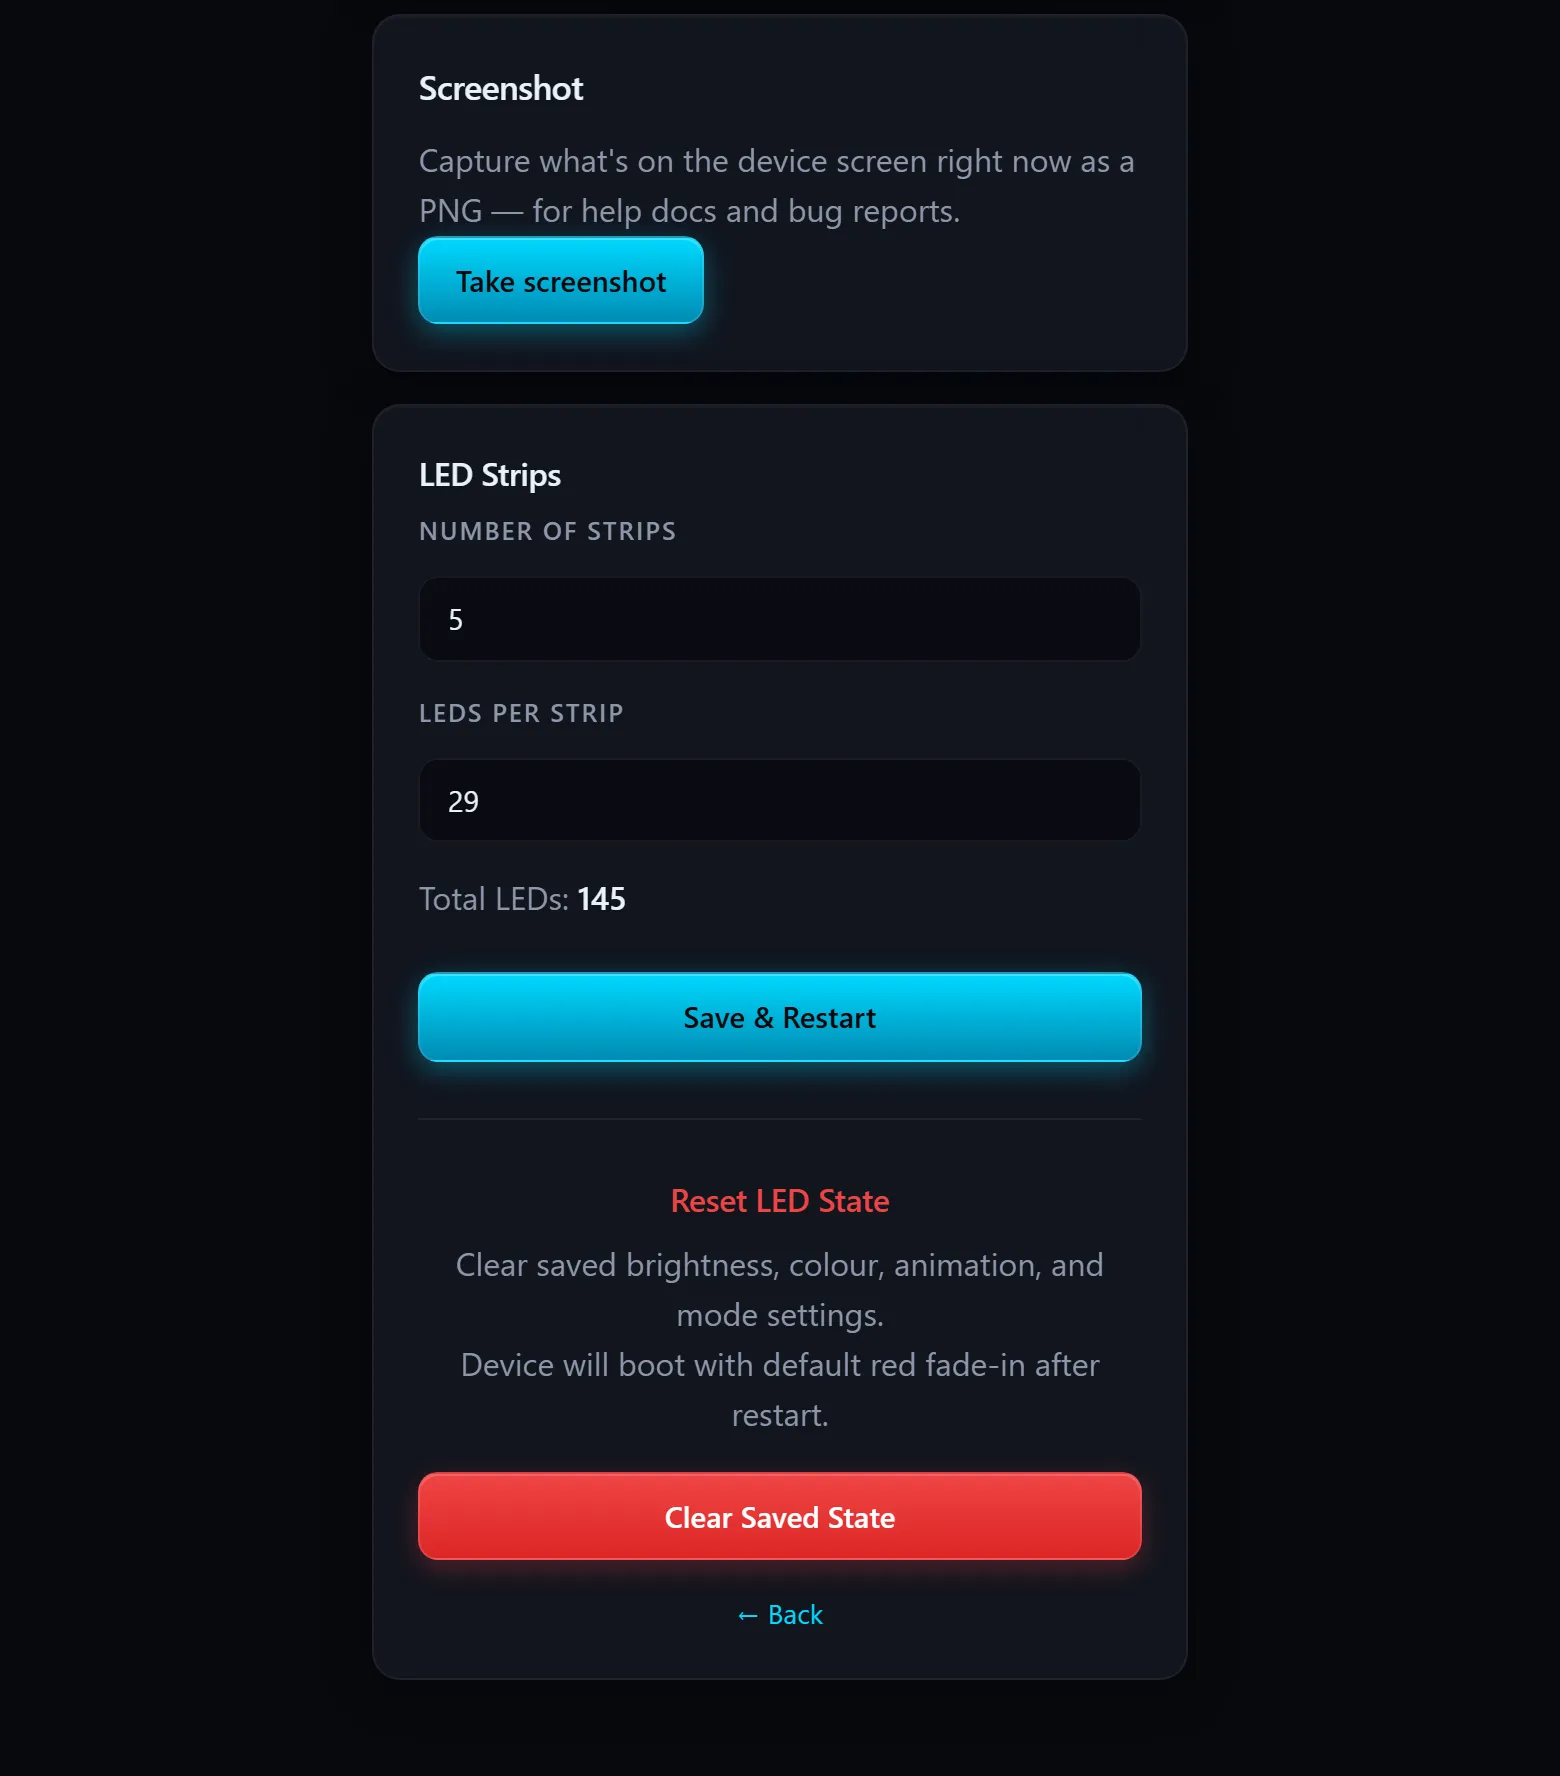
http://rackglow.local(or the IP address shown on the screen) and set the strip layout under LED Config.
The web UI
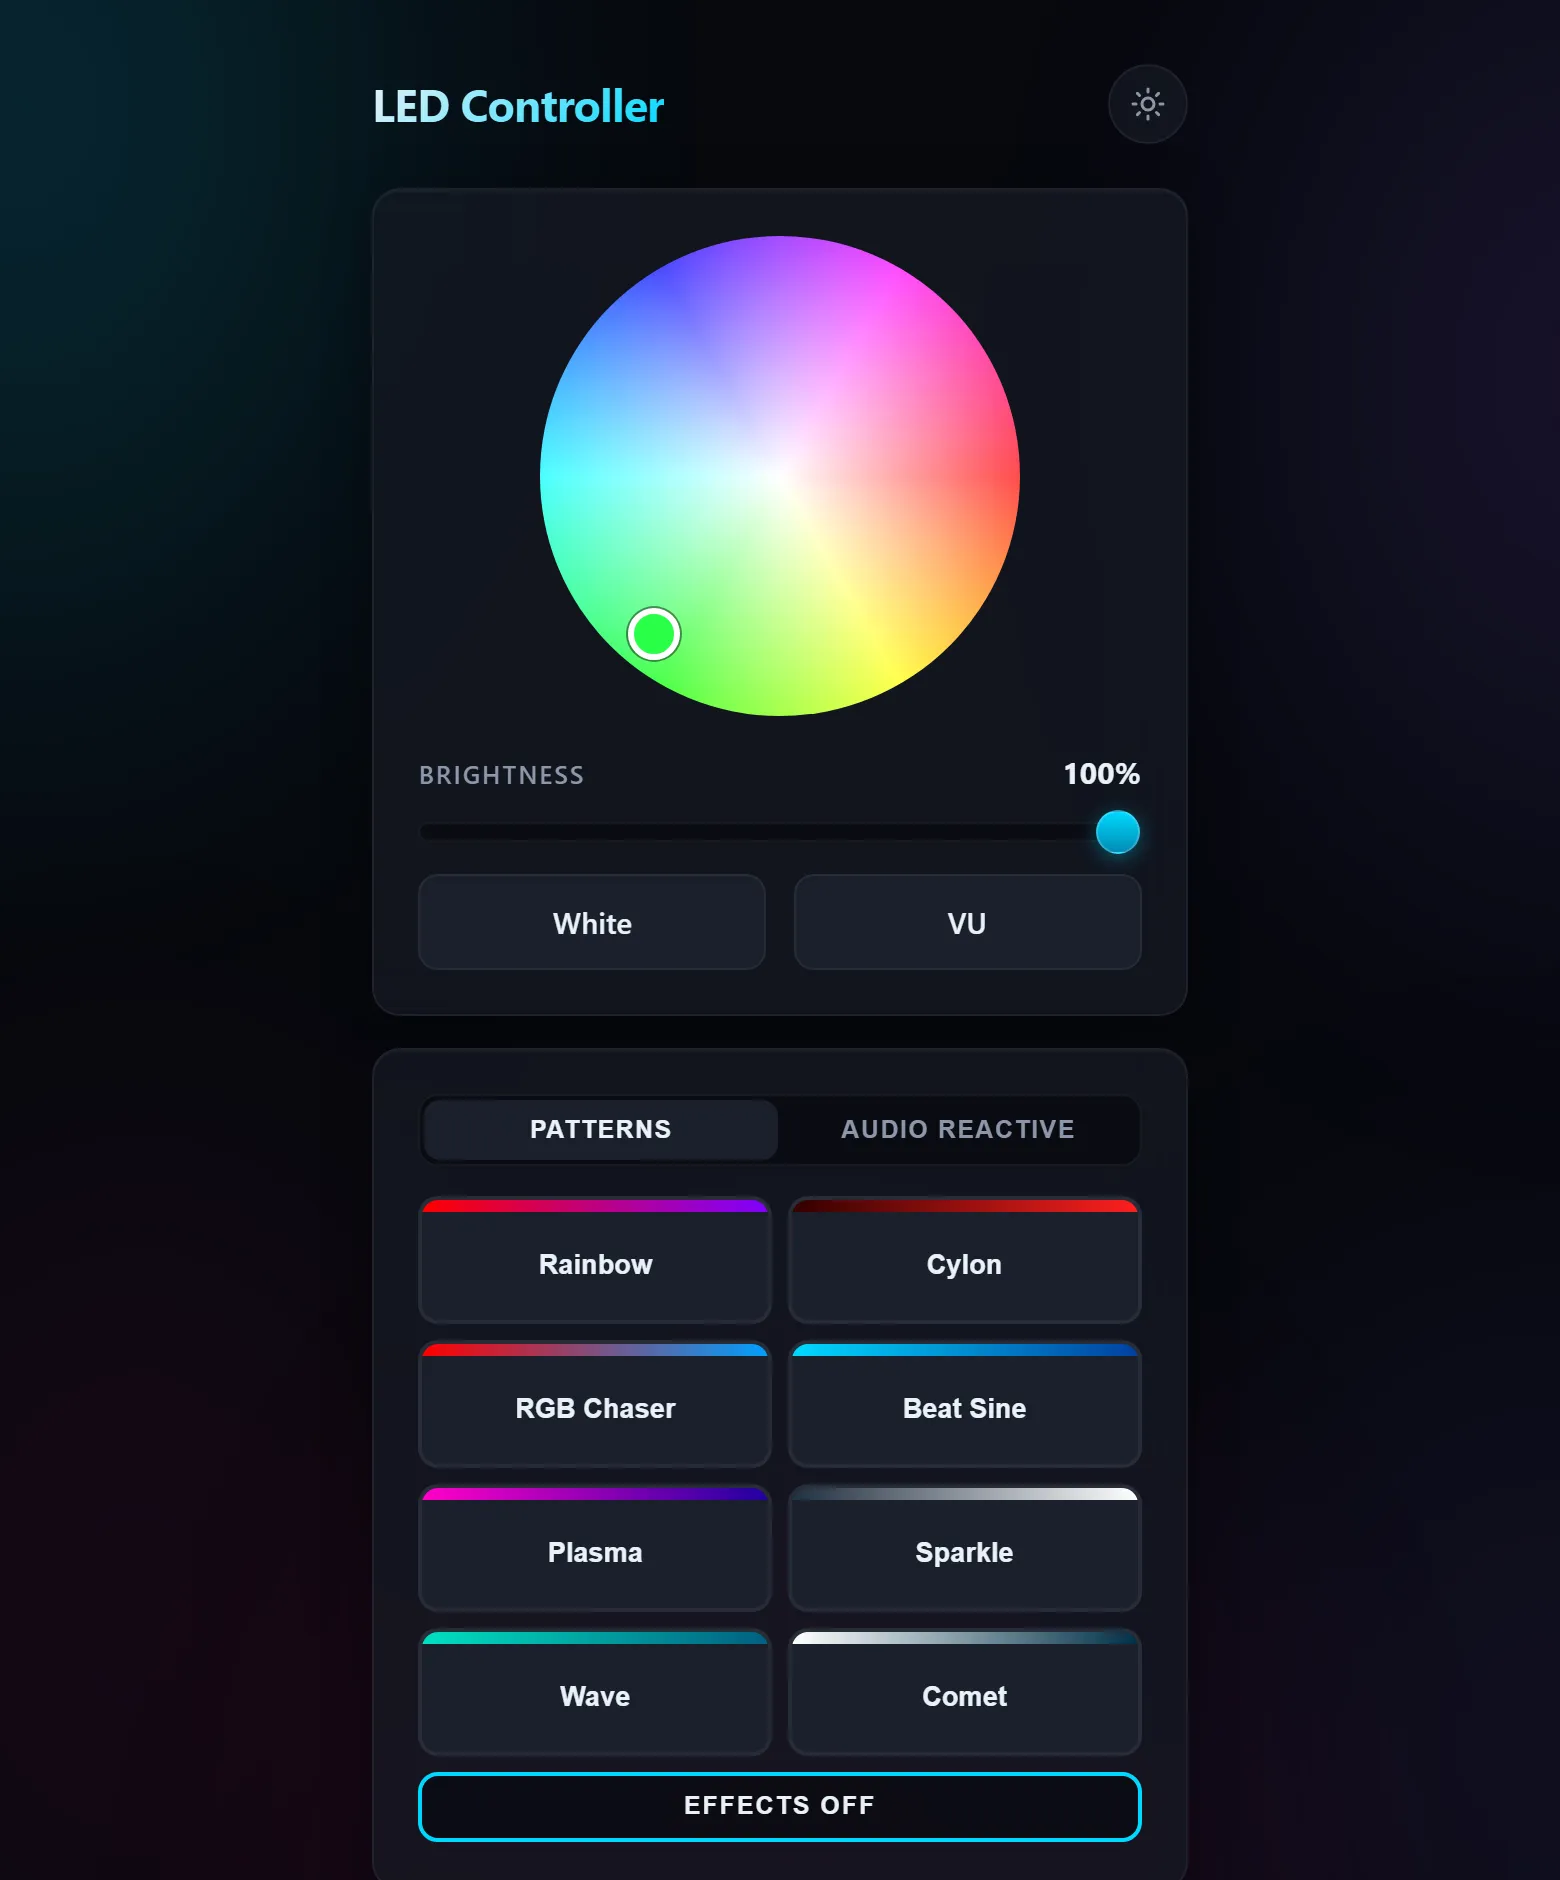
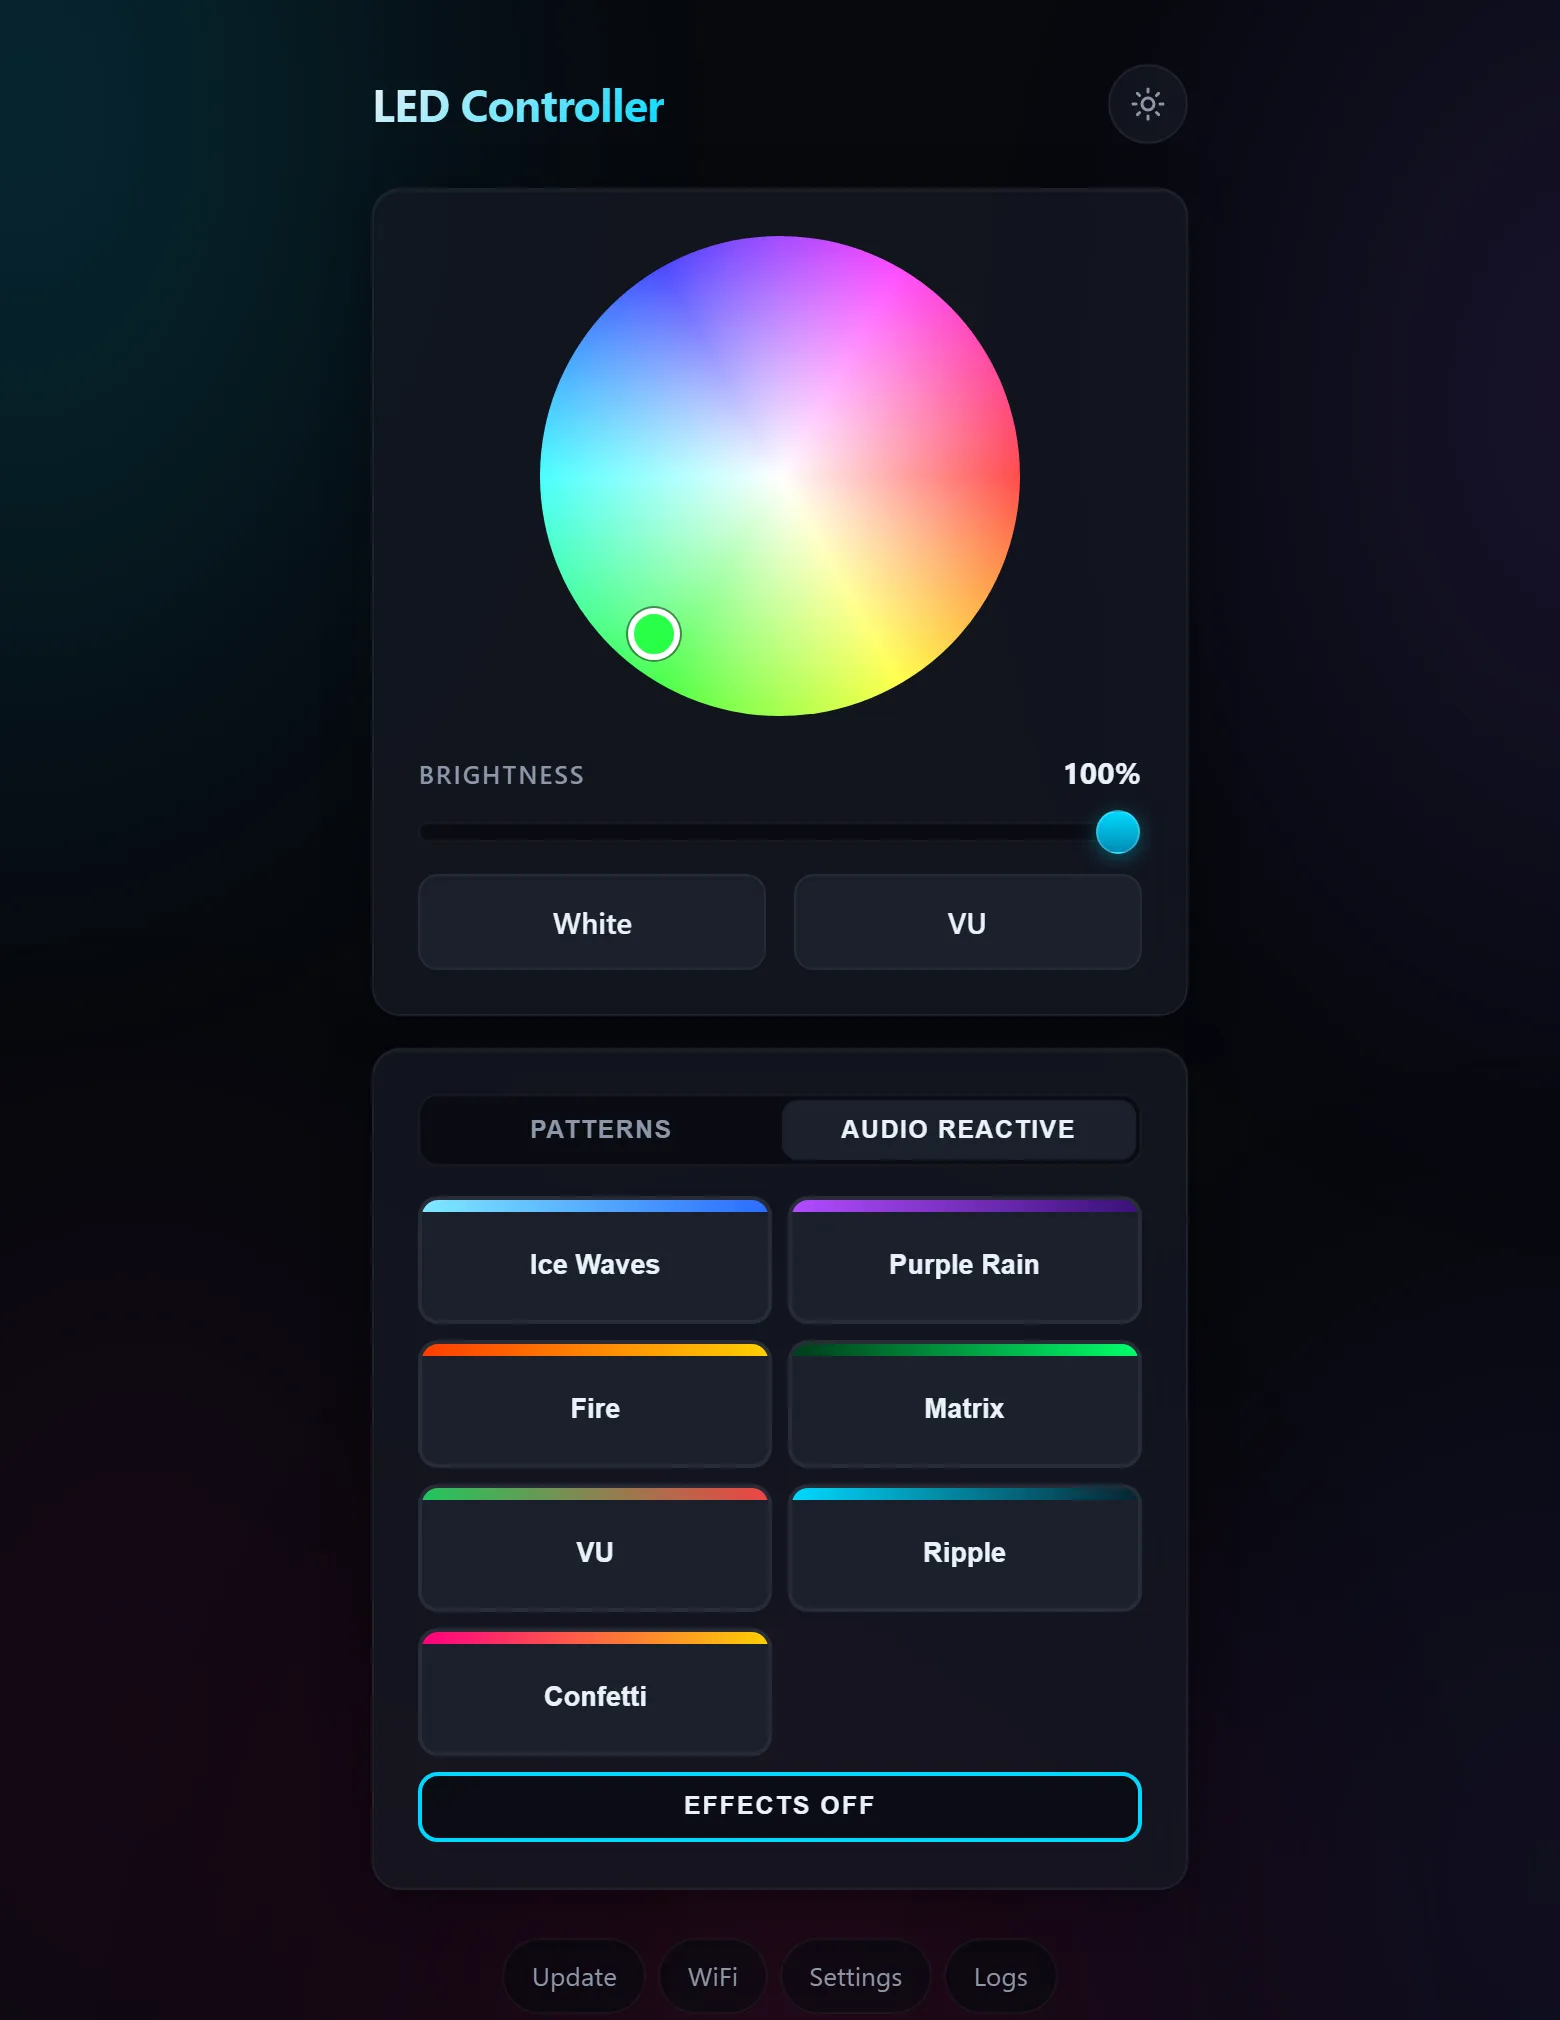
Section titled “The web UI”| Controls | Audio Reactive |
|---|---|
 |
 |
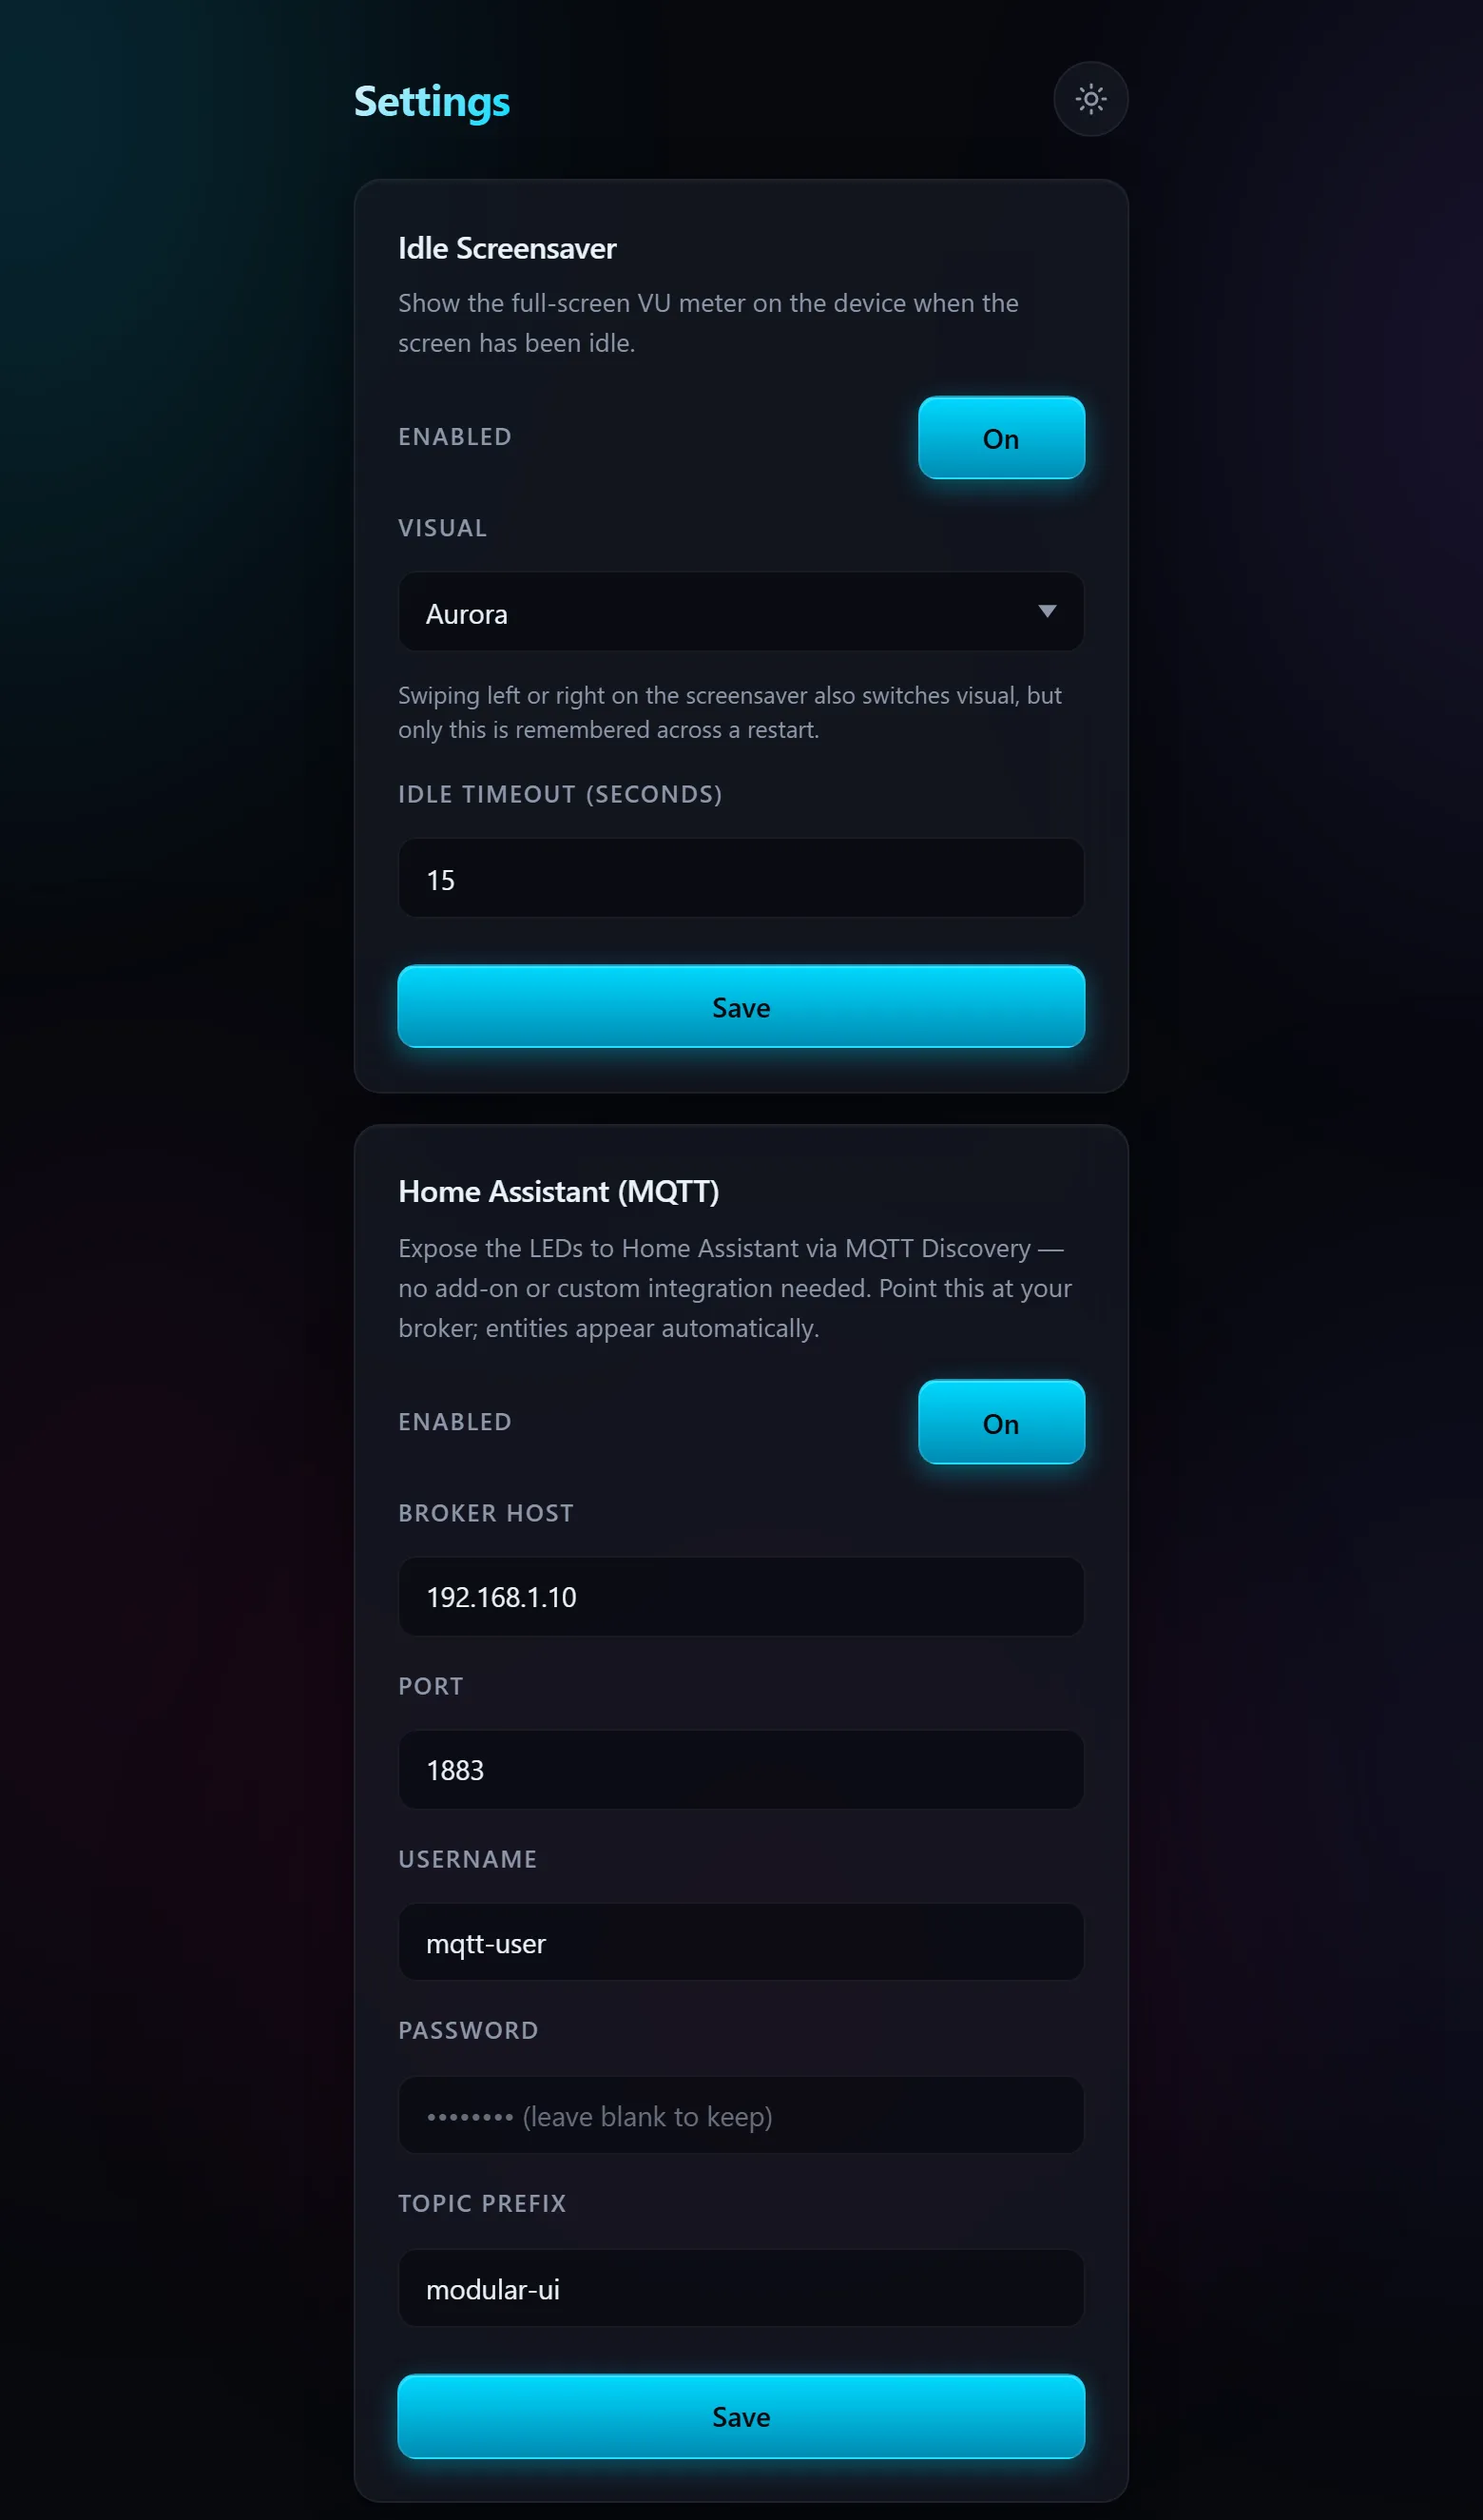
LED Config holds the strip layout, the screensaver and the Home Assistant settings, plus a screenshot tool for the panel.
| Screensaver + Home Assistant | LED strips |
|---|---|
 |
 |
http://rackglow.local/logs shows the device log — the first place to look when something isn’t
working.