
What you need
Everything sits behind a 3D-printed panel: the board, and a scrap of protoboard carrying an MSGEQ7 and a handful of passives. There’s no custom PCB to order.
| Part | Qty | Notes |
|---|---|---|
| WT32-SC01 Plus | 1 | ESP32-S3, 8 MB flash, QSPI PSRAM, 3.5” 320×480 ST7796 touchscreen |
| MSGEQ7 | 1 | Seven-band graphic equaliser, DIP-8. A socket is worth it |
| WS2812 / WS2812B strips | — | Equal-length strips on one data line. The reference builds are 5 × 29 and 3 × 29 LEDs |
| A10k potentiometer | 1 | Front-panel input attenuator (audio taper) |
| 3.5 mm jack | 1 | Audio in |
| 22 kΩ, 330 Ω resistors | 1 each | Audio input; WS2812 data line |
| 200 kΩ resistor | 1 | MSGEQ7 clock |
| 0.01 µF, 33 pF, 2 × 0.1 µF | MSGEQ7 input, clock and decoupling | |
| 1000 µF electrolytic, 6.3 V+ | 1 | Across 5 V at the LED terminal |
| Screw terminals, 2- and 3-way | 1 each | 5 V input; LED output |
| 10-pin IDC header | 1 | Eurorack bus power (optional) |
| Protoboard, hook-up wire, JST connectors | ||
| 5 V supply | 1 | Sized for roughly 60 mA per LED at full white, plus the board |
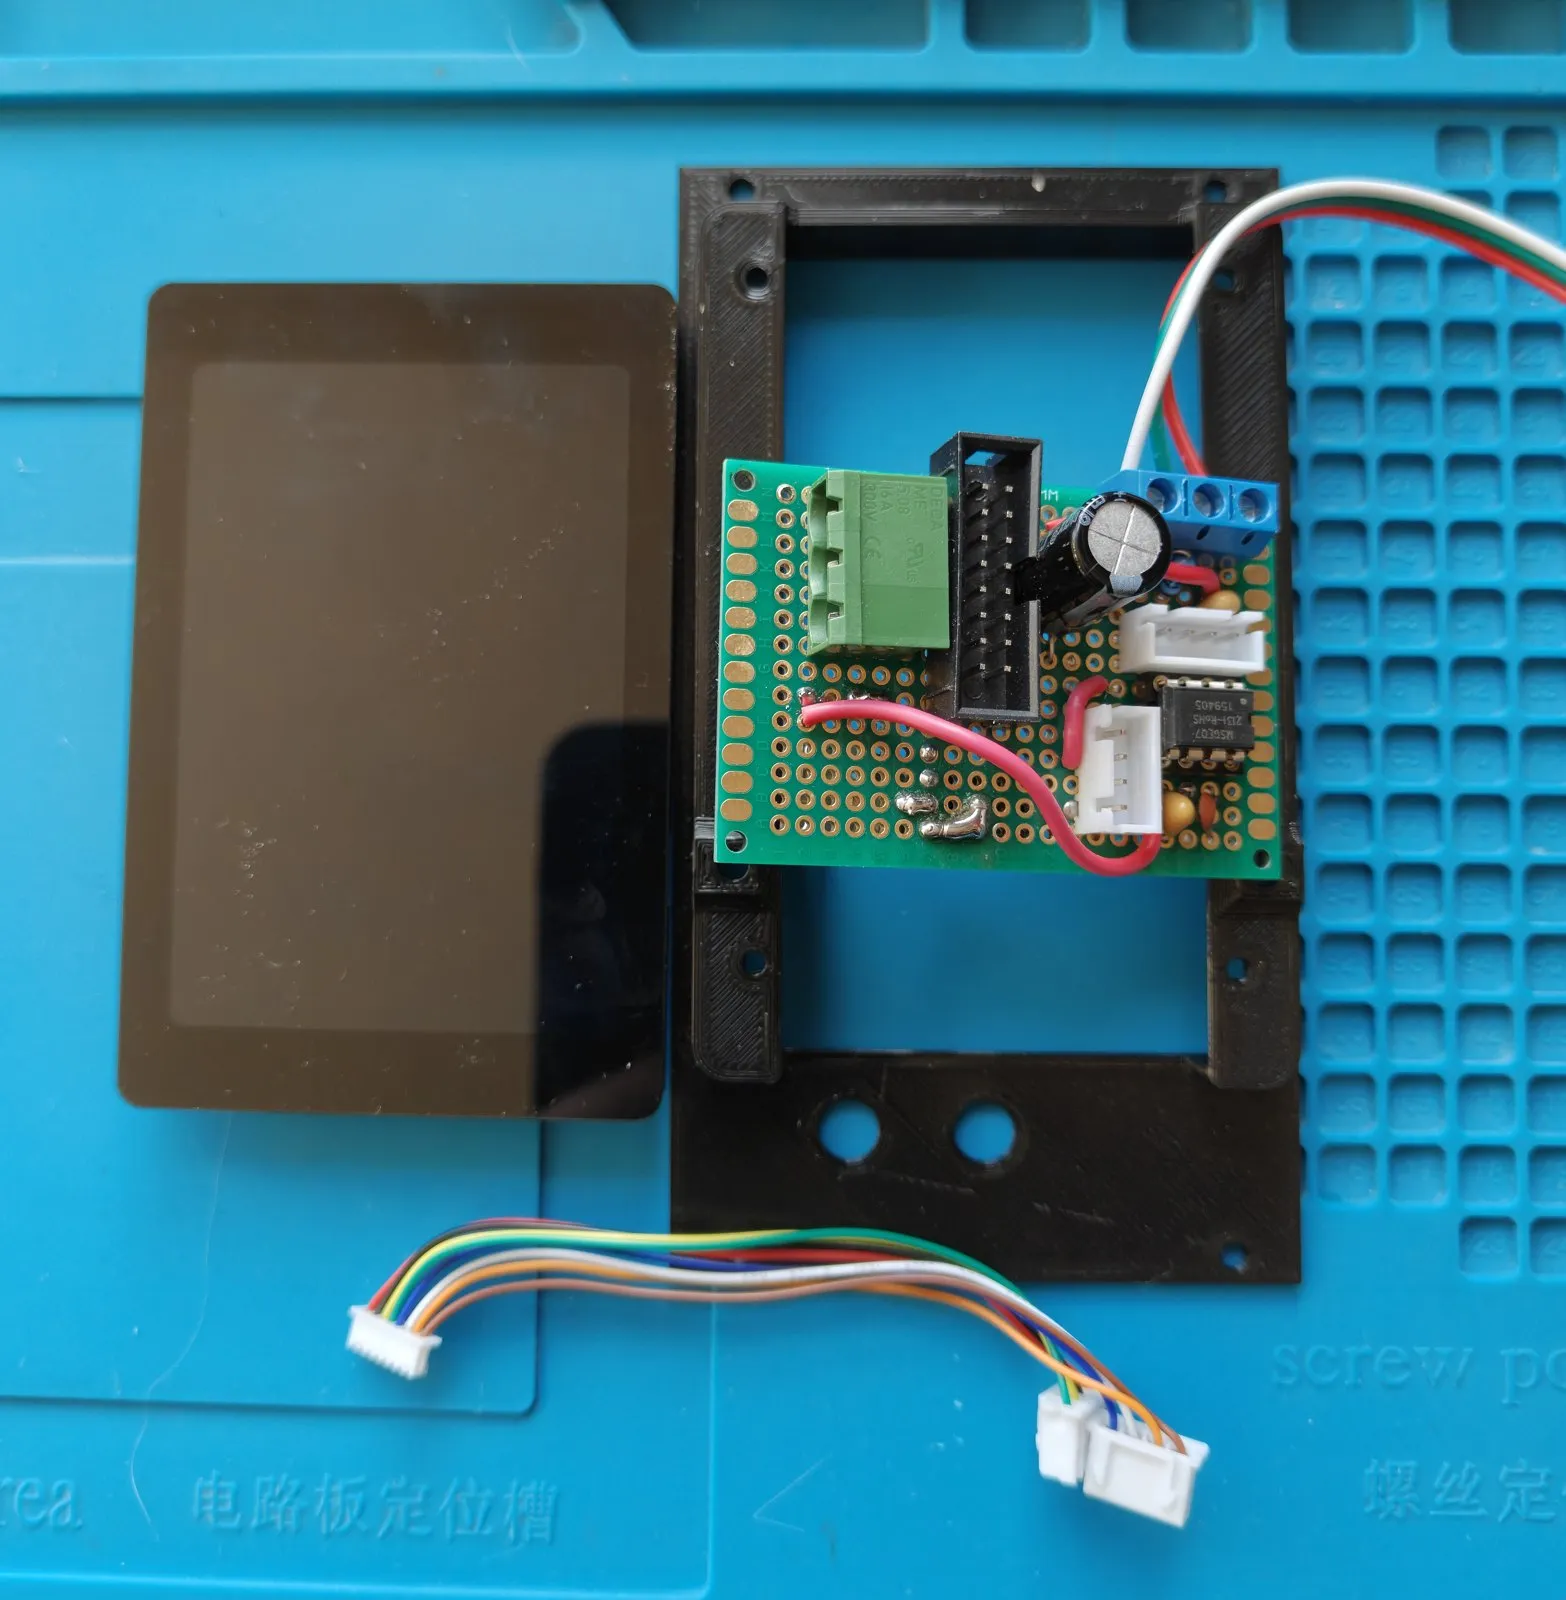
Printing the parts
Section titled “Printing the parts”Four printed parts, all in the firmware repo under
hardware/printed/:
the Eurorack front panel (14 HP × 3U), a holder for the LED strip, and covers for the plug and
power connections. STLs to print, a STEP of all four for any other CAD package, and the Fusion source.
Standard slicer defaults print all of it — only the plug cover needs supports, the rest print without.
You don’t need to install anything to flash it: the browser installer does that from desktop Chrome or Edge.